





You clean the bathroom, dry the mirror, and put out fresh towels. Then the shower door catches the light and still looks cloudy. In a Phoenix home, that film may be mineral buildup rather than dirt you missed. The useful question is what is on the glass—and what the glass can safely tolerate.
This guide separates removable hard-water deposits from soap film and possible glass damage. Start with the shower manufacturer’s care instructions, work on a small test area, and judge the result after the glass dries. A stronger cleaner is not always the next step.
How do you remove hard-water stains from shower glass?
To remove hard-water stains from shower glass, first wash away soap film with a manufacturer-approved mild cleaner. Rinse, then treat remaining mineral deposits with a glass-compatible descaler if the care instructions permit it. Follow its stated dilution and contact time, wipe with a soft cloth, rinse thoroughly, and squeegee dry. Test a small area first, especially on coated glass.
Protect the rest of the shower as carefully as the door. A cleaner suitable for plain glass can damage natural stone, metal finishes, seals, or a protective coating. If you cannot identify the glass treatment or nearby materials, begin with mild soap and water and ask the installer before using acid or abrasives.
Why Phoenix shower glass gets mineral spots
The City of Phoenix Water Services FAQs explain that calcium and magnesium in source water contribute to hardness. When shower droplets dry, dissolved minerals can remain on the surface. Repeated wetting and drying leave deposits that an ordinary wipe with glass cleaner may not remove.
Hardness is not a diagnosis of unsafe water. Nor does one citywide number tell you exactly what reaches a particular bathroom. Water supply, home treatment equipment, and maintenance can differ. For cleaning purposes, identifying the residue and checking surface compatibility are more useful than guessing your home’s hardness from its ZIP code.
If the residue is loose grit on ledges rather than dried droplet marks, use the separate guide to removing dust in a Phoenix home. Dust control and mineral removal require different methods.
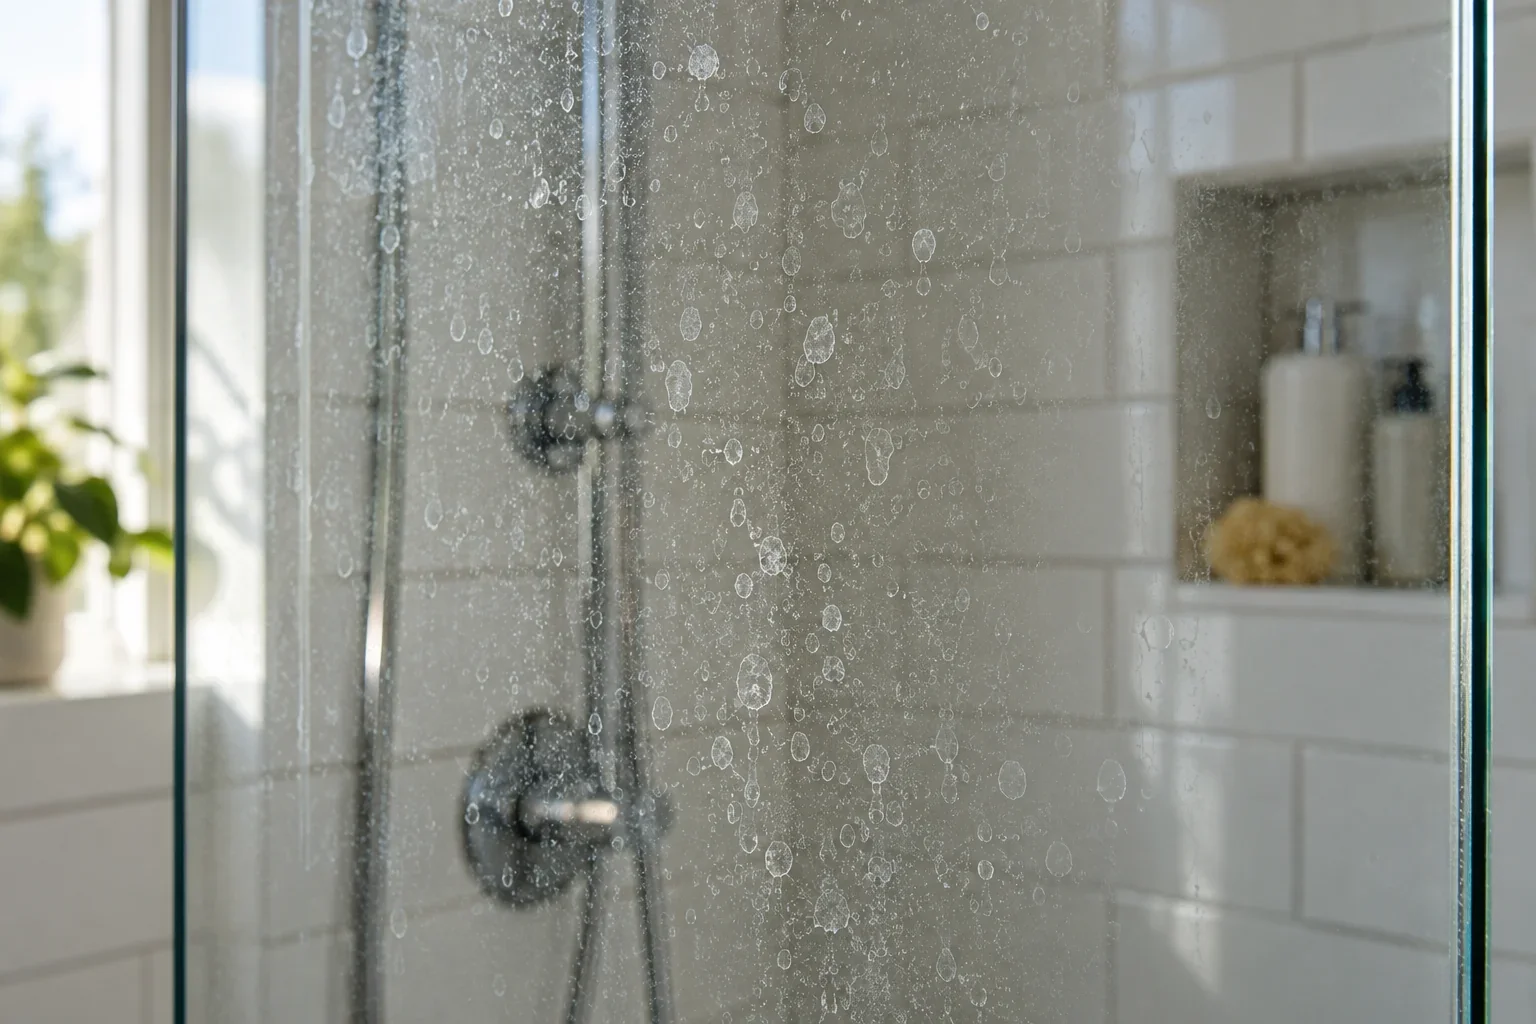
Mineral deposits, soap scum, or damaged glass?
White droplet outlines or chalky patches suggest mineral residue. A smeary film may include soap and body oils. Both can occur together, so removing soap film first makes it easier to see what remains. Appearance alone cannot confirm the cause.
Persistent haze can also come from scratches, coating deterioration, or etching. If an approved cleaner removes some spots but a cloudy area stays unchanged, pause. Do not assume that more pressure or a longer soak will fix it. A glass installer can help distinguish residue from damage.
Choose a method that suits your shower
Before opening a bottle, check the shower’s care sheet for the glass, tile, fittings, and seals. If the door has a protective treatment, its cleaning instructions take priority over a generic household recipe. Put a soft microfiber cloth, a clean squeegee, rinse water, and any label-required protective equipment within reach.
Plain glass beside porcelain or ceramic tile
Begin with mild soap and water if the care sheet allows them. For remaining scale, choose a mineral-removing product that explicitly permits use on the glass and the surrounding materials. Test an inconspicuous patch, rinse it, and inspect it when dry before treating the whole door.
Glass with an easy-clean coating
Use the coating manufacturer’s instructions. Some treatments allow diluted white vinegar; others specify particular products or methods. “Safe for glass” on a bottle does not automatically mean safe for every coating. If the instructions are missing, ask the installer or manufacturer for a copy rather than trying several products in succession.
Glass beside marble, travertine, or limestone
Acidic cleaners, including vinegar, can etch these stones. Runoff from the door matters even if you intend to clean only the glass. Use a method approved for the entire enclosure or ask a qualified professional how to protect the stone. Do not rely on a towel at the bottom of the door to make an incompatible cleaner safe.
Metal hardware and unfamiliar finishes
Keep cleaner off hinges, handles, and trim unless their care instructions allow it. Matte, plated, and specialty finishes may need different care from the glass. Apply cleaner to a cloth when its directions permit that method, so you can control where it goes.
Clean the glass, step by step
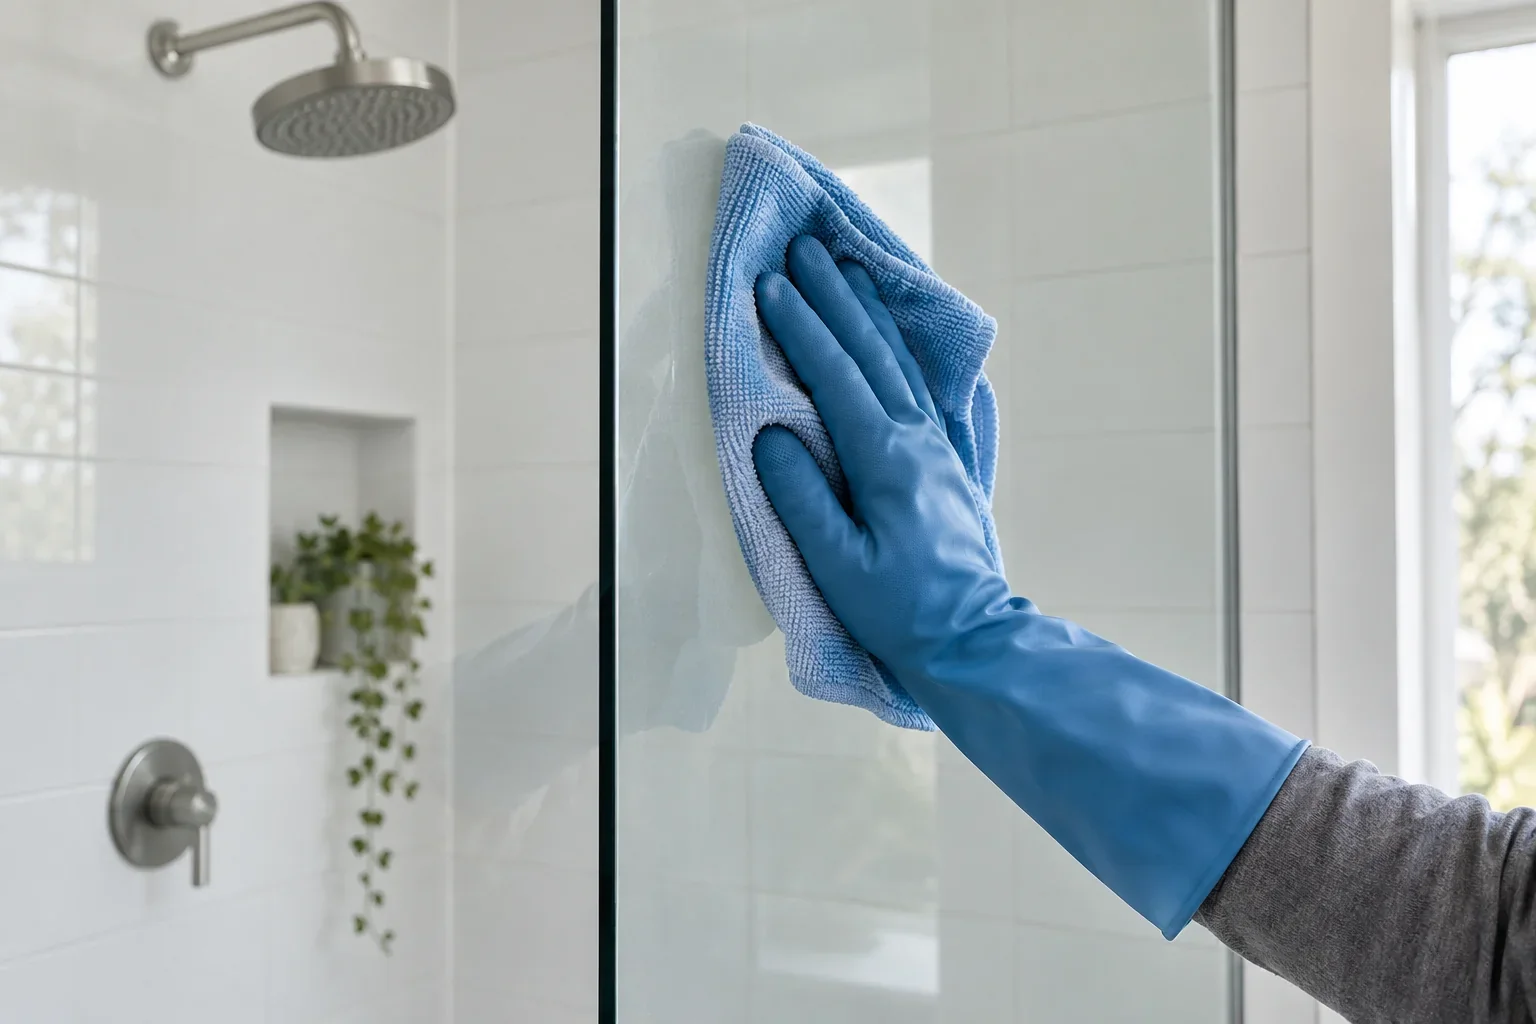
1. Clear the enclosure and check the instructions
Remove toiletries and loose items. Ventilate the bathroom, follow the cleaner’s protective-equipment directions, and make sure you can work from a stable position. Never mix cleaners. In particular, do not combine bleach with vinegar, acidic descalers, or ammonia.
2. Wash off the soap film
Use a mild cleaner approved for the shower and a soft cloth. Work in manageable sections, including the lower glass where residue often collects. Rinse away the cleaner completely before moving to a different product. This first pass may solve much of the cloudiness without a separate scale treatment.
3. Treat one patch of mineral residue
If spots remain, test the permitted mineral-removing cleaner on a small area. Use exactly the dilution and contact time in the product and surface instructions. There is no universal ten-minute soak: leaving a product longer than directed can harm finishes or allow it to dry on the surface.
4. Wipe gently and rinse thoroughly
Use a clean soft cloth or another tool specifically approved by the manufacturer. Avoid steel wool, razor blades, pumice, and gritty pastes unless the surface manufacturer expressly recommends a particular tool. A pad described as “non-scratch” still needs to be compatible with the coating.
5. Squeegee and dry the edges
Remove rinse water with overlapping squeegee strokes. Dry the edges, handle area, and accessible lower channel with a clean cloth, following hardware care instructions. Let the glass dry before assessing clarity; water can temporarily hide some remaining marks.
6. Compare the test patch before repeating
If the dry patch is clearer, continue in sections within the approved instructions. If it has not improved, stop and reassess. Record the product and method you used so a cleaner or installer can give useful advice. Repeating an ineffective treatment across the whole door adds work without identifying the problem.
A useful check: inspect the same patch in the same light before and after cleaning. Compare dry glass with dry glass. That gives you a more honest result than comparing a dry, cloudy door with one still wet from rinsing.
Keep the spots from building up again
The practical aim is to leave less water on the glass after each shower. Once you have removed the existing residue, keep a squeegee within easy reach and use it before the droplets dry. Finish with a quick wipe of the accessible bottom edge. This reduces the water available to leave fresh deposits; it does not guarantee permanently spotless glass.
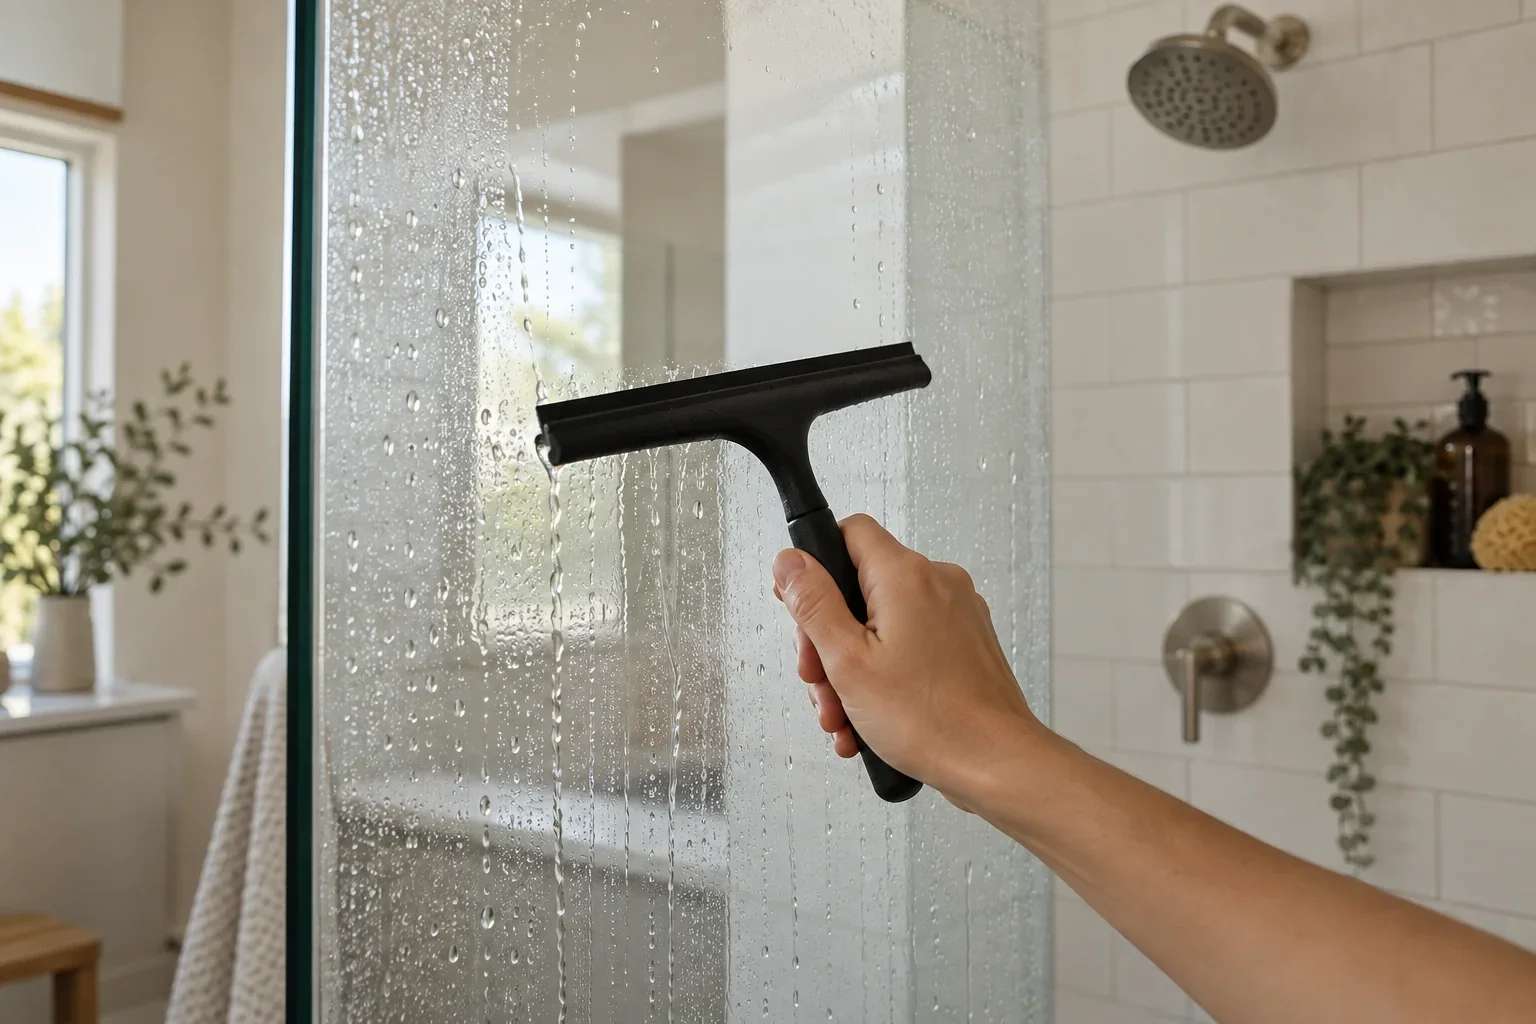
A maintenance routine you can adjust
- After use: squeegee the glass and dry accessible edges.
- Weekly starting point: wash away soap film using the approved mild method. Clean the squeegee blade and launder the cloths.
- When spots first appear: treat a small area using the permitted mineral-removal method rather than waiting for a thick film.
- If results change: check the coating instructions, cleaning products, and any home water-treatment maintenance requirements.
Adjust that starting routine to actual use. A shared shower may need attention sooner than a guest bathroom. Add the task to your Phoenix seasonal cleaning calendar, but judge the interval by the glass rather than the month. Mineral deposits are a year-round issue; this is not a dust-storm cleanup task.
For vacation rentals, inspect between guests
Check the glass after it dries during each turnover. Inspect both sides in consistent light, look for soap film around the handle, and note residue along the lower edge. Keep the enclosure’s care instructions available for whoever cleans the property. A short note naming the coating and approved products is more useful than “make the shower sparkle.”
When to book cleaning or call a glass specialist
Book cleaning when removable buildup needs more time than your routine allows, or when you want the shower included in a broader bathroom reset. Describe the glass, surrounding stone or tile, any coating, and the products already tried. For a Phoenix deep cleaning appointment, ask which shower-glass tasks are included and whether substantial mineral buildup needs additional time.
Call a glass specialist when haze remains after approved cleaning, the coating appears damaged, or there are scratches or chips. Ordinary cleaning and glass restoration are different jobs. Do not expect a cleaning booking to repair etched glass, reapply a coating, or fix leaking seals.
MaidThis connects Phoenix homeowners and rental hosts with vetted cleaners. If you would like help with the bathroom, request a Phoenix cleaning quote and explain the shower’s condition before the visit. The right scope starts with a clear description of the problem.
Frequently Asked Questions
Does vinegar remove hard-water stains from shower glass?
Vinegar can help dissolve some mineral deposits, but it is not suitable for every shower. Check the glass coating, metal finishes, seals, and nearby tile or stone before using it. If the care sheet permits vinegar, follow its specified dilution and method, test a small patch, rinse, and dry. Avoid acidic runoff on marble, travertine, and limestone. Stronger cleaning vinegar is not a safe substitute for a permitted household-vinegar dilution.
Why does my shower glass still look cloudy after cleaning?
The cleaner may have removed soap film while leaving mineral deposits, or it may have left its own residue. Rinse and dry the glass, then inspect a small area treated with an approved mineral remover. If the haze stays unchanged, it could involve etching, scratches, or coating damage. Appearance alone does not prove which one. Ask the installer to assess persistent cloudiness rather than repeatedly scrubbing harder.
What is the best cleaner for hard-water stains in a Phoenix shower?
The best choice is a mineral-removing cleaner approved for your glass and all surrounding surfaces—not simply the strongest descaler. Start by removing soap film with an approved mild cleaner. If scale remains, use the product and contact time allowed by the enclosure’s care instructions. Coated glass and natural-stone showers need particular care. Without those instructions, there is no responsible universal product recommendation.
Can I use baking soda and vinegar together on shower glass?
Mixing them is not a dependable mineral-removal method: the baking soda reacts with the vinegar and consumes acid that could otherwise act on deposits. A baking-soda paste can also be incompatible with some coatings. Use one approved cleaning method at a time, rinse thoroughly before switching products, and avoid improvised mixtures. A fizzing reaction is not evidence that the glass is becoming cleaner.
Will a shower-head filter stop hard-water spots?
Do not assume that a shower-head filter softens water. Many filters target substances other than dissolved calcium and magnesium. Check the specific product’s tested hardness-reduction claim and maintenance requirements. A properly selected water softener can reduce hardness minerals, but it does not remove deposits already on the glass, and soap residue may still require cleaning. Water-treatment advice should be based on your home’s supply and equipment.
How often should I clean shower glass in Phoenix?
Squeegee after each use and begin with a weekly mild clean, then adjust to how quickly soap film or spots return. Household size, shower use, water treatment, and the door’s coating affect the interval. Treat new deposits early using the approved method. In a vacation rental, inspect the dry glass at every turnover so residue does not carry from one guest stay to the next.
Can a professional cleaner remove old hard-water stains?
A cleaner may be able to remove old surface deposits with compatible products and sufficient time. Age alone does not tell you whether the marks are removable. Send a description or photo, identify any coating and natural stone, and confirm the scope before booking. If the glass is etched or scratched, routine cleaning will not repair that damage; a glass specialist should assess restoration or replacement options.
Editorial note: This guide was prepared with AI assistance and checked against public water-service information and manufacturer care guidance. The photographs are AI-generated illustrations, not MaidThis job photos or proof of cleaning results. Your enclosure’s current care instructions take priority over general cleaning advice.